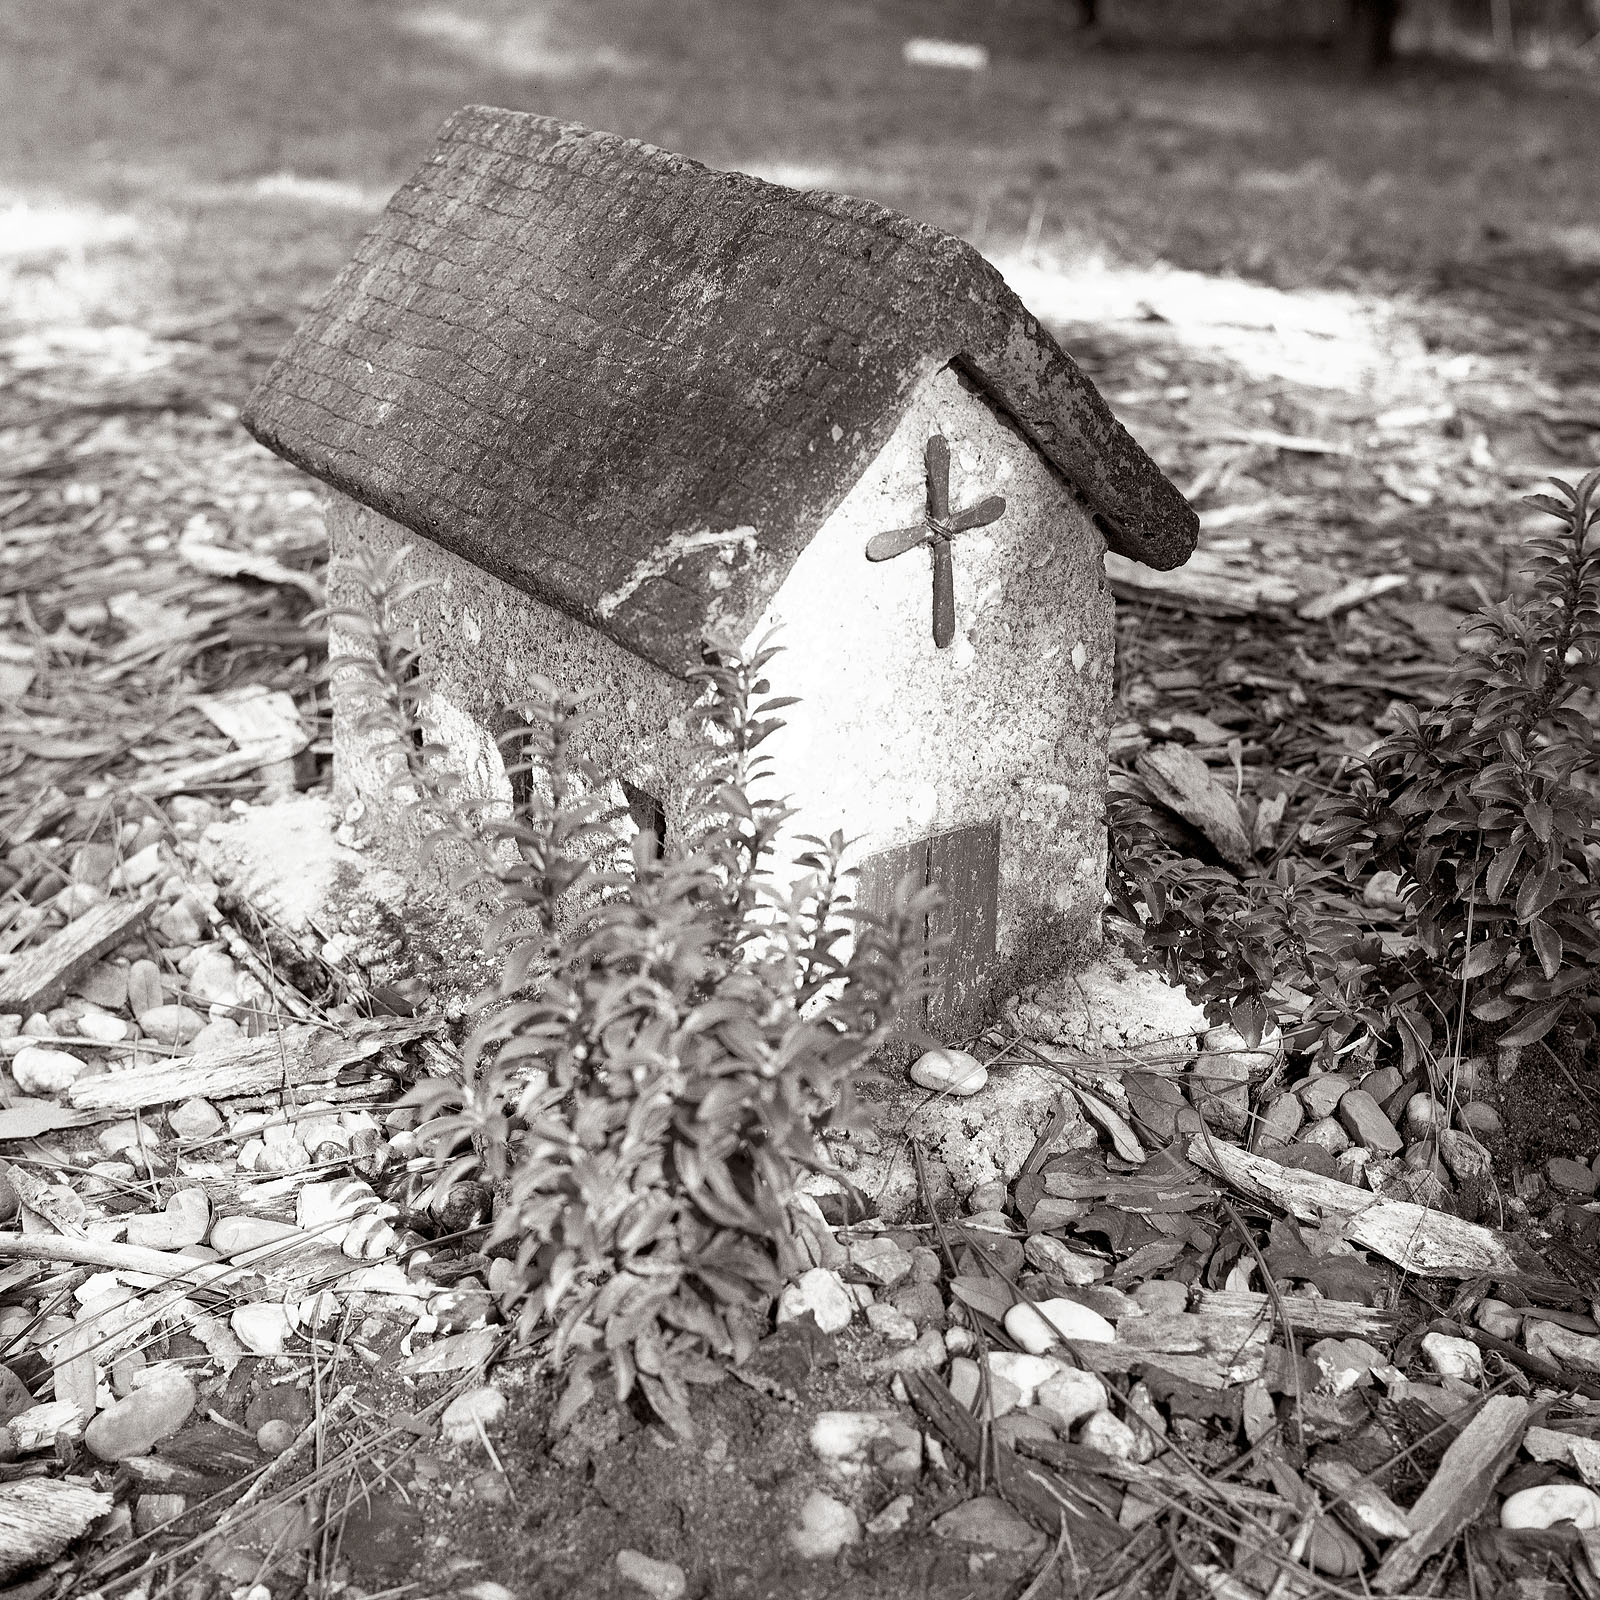
Last week I spent some time experimenting with a NuArc exposure unit in our printmaking lab and was able to make a couple of decent Van Dyke Brown prints.
I discovered that the shadow density on my negatives was a little high. I think the film I was using, being expired, had a bit more base fog than anticipated. That's okay as I was able to push through it for the most part. I also intensified the prints with some potassium dichromate.
Here are some digital images of the prints:
Showing posts with label Nikon 120mm. Show all posts
Saturday, April 11, 2015
Tuesday, April 7, 2015
Shooting 8x10 for Van Dyke Brown Negatives, Part 1
I have on and off again experimented with alternative photographic processes, without a lot of success. I either didn't have the right negative density, or the UV exposure from the sun wasn't right, etc. However recently I found out we have a nice UV exposure unit for printmaking at the university I work for that I can use, which means I could eliminate some variables and hopefully make some decent prints.
In an effort to make good negatives first, I shot some this past weekend with my 8x10 and experimented with pyro developer. Staining developers such as Pyrocat are overwhelmingly suggested for alt processes due to their unique properties. I've given up Pyrocat as unreliable for my own uses years ago but I had been using Tanol recently, mostly out of curiosity and since it was relatively cheap.
I couldn't find any good film development recipes so I just experimented with 8 negatives to find the best development time and dilution, which I will document here.
I shot 8 negatives of ERA film, which from what I understand is either rebadged Ilford FP4+ or so close as to be indistinguishable. I shot it at an ISO of 64. I developed the negatives in Tanol diluted 2:2:100, which is a double-strength dilution, mostly in an effort to keep the development times down. I developed 2 negatives at a time in BTZS rotary tubes for 8 minutes, then 10 minutes, and finally 12 minutes. The 12 minute negatives were the most dense and looked good for typical printing. The 12 minute negatives looked nice for the needs of alt processes.
Pyro-developed negatives supposedly are good for making images that can be printed with various alt processes as well as typical silver printing and scanning. All of my negatives did indeed scan well, even one that was overexposed a little bit. The best negative I measured on a densitometer and the UV setting showed a density range of about 0.5 to 2.2, which I believe is just right for Van Dyke Browns.
I coated some paper and tried some test prints on the UV exposure unit and dialed in an exposure. Tomorrow I am printing a couple more that should be just right!
For now, here are some scans of the negatives (one was cropped slightly). All were either shot with my 210mm f/9 Graphic Kowa or Nikkor 120mm f/8:
In an effort to make good negatives first, I shot some this past weekend with my 8x10 and experimented with pyro developer. Staining developers such as Pyrocat are overwhelmingly suggested for alt processes due to their unique properties. I've given up Pyrocat as unreliable for my own uses years ago but I had been using Tanol recently, mostly out of curiosity and since it was relatively cheap.
I couldn't find any good film development recipes so I just experimented with 8 negatives to find the best development time and dilution, which I will document here.
I shot 8 negatives of ERA film, which from what I understand is either rebadged Ilford FP4+ or so close as to be indistinguishable. I shot it at an ISO of 64. I developed the negatives in Tanol diluted 2:2:100, which is a double-strength dilution, mostly in an effort to keep the development times down. I developed 2 negatives at a time in BTZS rotary tubes for 8 minutes, then 10 minutes, and finally 12 minutes. The 12 minute negatives were the most dense and looked good for typical printing. The 12 minute negatives looked nice for the needs of alt processes.
Pyro-developed negatives supposedly are good for making images that can be printed with various alt processes as well as typical silver printing and scanning. All of my negatives did indeed scan well, even one that was overexposed a little bit. The best negative I measured on a densitometer and the UV setting showed a density range of about 0.5 to 2.2, which I believe is just right for Van Dyke Browns.
I coated some paper and tried some test prints on the UV exposure unit and dialed in an exposure. Tomorrow I am printing a couple more that should be just right!
For now, here are some scans of the negatives (one was cropped slightly). All were either shot with my 210mm f/9 Graphic Kowa or Nikkor 120mm f/8:
Saturday, March 2, 2013
Efke IR820 AURA film - Finally, success!
Last year, the film community unfortunately lost one of its manufacturers - a critical fault in machinery that could not be repaired (or so I have heard) caused Efke to shut down its film manufacturing plant. I had never used Efke products, but a good friend swore by their slow film for landscapes, and I had seen many excellent photos using their IR-sensitized film. So I decided to buy one box to try before it was gone forever.
The AURA film is special in that it has no anti-halation layer, making halos from light reflecting back from the rear of the film - an interesting effect. It was also a lot more expensive unfortunately! In hindsight, I hardly see any of this effect so I probably should've saved my money.
Anyway - I have been trying to get a good shot from this film since I purchased it with no luck. I discovered the issue finally - I was using the incorrect filter. My stupid mistake - I had assumed the "820" in the name indicated the correct filter to use. Rather, it seems that it meant how the film was sensitized - up to 820nm. So using an 820nm filter cut out everything, so my film was grossly underexposed every time.
Finally I bought a new filter - a Marumi 700nm filter, which works great! Here are two shots from my experiments that turned out well. I will have to try to find suitable shots for this special film - since I only have about 30 sheets left! Both taken with a Nikkor 120mm f/8:
Oh - I developed these in Rodinal diluted 1:100, semi-stand for one hour. Interestingly, while I carefully metered (for ISO 1!), it seems this film and development combo simply can't be overexposed. I accidentally screwed up a sheet and instead of exposing for 8 seconds, it was more like 30 seconds. Both that sheet and my "correct" sheet had pretty much identical density and range. So I probably will not even bother metering anymore - I'll just give it 10 seconds or so in open sunlight.
The AURA film is special in that it has no anti-halation layer, making halos from light reflecting back from the rear of the film - an interesting effect. It was also a lot more expensive unfortunately! In hindsight, I hardly see any of this effect so I probably should've saved my money.
Anyway - I have been trying to get a good shot from this film since I purchased it with no luck. I discovered the issue finally - I was using the incorrect filter. My stupid mistake - I had assumed the "820" in the name indicated the correct filter to use. Rather, it seems that it meant how the film was sensitized - up to 820nm. So using an 820nm filter cut out everything, so my film was grossly underexposed every time.
Finally I bought a new filter - a Marumi 700nm filter, which works great! Here are two shots from my experiments that turned out well. I will have to try to find suitable shots for this special film - since I only have about 30 sheets left! Both taken with a Nikkor 120mm f/8:
Oh - I developed these in Rodinal diluted 1:100, semi-stand for one hour. Interestingly, while I carefully metered (for ISO 1!), it seems this film and development combo simply can't be overexposed. I accidentally screwed up a sheet and instead of exposing for 8 seconds, it was more like 30 seconds. Both that sheet and my "correct" sheet had pretty much identical density and range. So I probably will not even bother metering anymore - I'll just give it 10 seconds or so in open sunlight.
Sunday, January 13, 2013
Golden Isles 2012 Vacation Part 3
Got some newly developed color shots back from the lab and I've been eagerly scanning them all weekend. Here's a few shots from my trip to St. Simon's in December. First, an excellent chrome that I'm very happy with from the pier near the shopping district. Velvia 50, Nikkor 90mm f/8, 2-stop soft GND:
Here is the lighthouse earlier that day. It's a little underexposed. Taken with the Nikkor 120mm lens:
I also shot a lot of 35mm slides. Here is a collection of images from Fort Frederica, taken with my Nikon SP and mostly the 35mm f/1.8 on Fuji Sensia:
Finally, here are a few shots from some Ektar 100 in my Yashica 124G. I've decided I probably won't be getting this film any more because I just don't really like it. These are okay but the colors are just not what I'm looking for. I think if I'm going to shoot negative color film I'll shoot Portra. I also got a roll back of Portra that I will post soon that is just fantastic. Anyway, here's the best shots from this roll:
Here is the lighthouse earlier that day. It's a little underexposed. Taken with the Nikkor 120mm lens:
I also shot a lot of 35mm slides. Here is a collection of images from Fort Frederica, taken with my Nikon SP and mostly the 35mm f/1.8 on Fuji Sensia:
Finally, here are a few shots from some Ektar 100 in my Yashica 124G. I've decided I probably won't be getting this film any more because I just don't really like it. These are okay but the colors are just not what I'm looking for. I think if I'm going to shoot negative color film I'll shoot Portra. I also got a roll back of Portra that I will post soon that is just fantastic. Anyway, here's the best shots from this roll:
Sunday, January 6, 2013
Mississippi Christmas 2012
This year's trip to Biloxi, MS, and surrounding areas, was a whirlwind of activity, and I really didn't have a lot of time to photograph stuff. But I still had time for some photography, mostly 35mm. I also have just sent off a huge lot of color film to California to be developed, including shots from all over the place in the last 6 months.
First up is two views of the Ohr-O'Keefe Museum of Art. Or at least part of it. I love the architecture of these buildings, specifically made to encompass the live oaks on this property and not disturb them. Both images were made with the 120mm f/8 Nikkor lens on 4x5 T-Max 100:
Next is a portrait of two of my cousins, Ben and Jeremy. Taken with a 90mm at their favorite hangout - a bayou near my grandparents' house:
Now here is some random images from my Nikon F4 on Fuji Superia 200, mostly snapshots around my grandparents' house. I was lazy and got them developed locally at a Walgreens - big mistake. They screwed up royally and butchered the film. Terrible, terrible dust and scratches. I am quite mad about it. Anyway, I didn't spot or clean up these scans much so forgive the dust and such:
First up is two views of the Ohr-O'Keefe Museum of Art. Or at least part of it. I love the architecture of these buildings, specifically made to encompass the live oaks on this property and not disturb them. Both images were made with the 120mm f/8 Nikkor lens on 4x5 T-Max 100:
Next is a portrait of two of my cousins, Ben and Jeremy. Taken with a 90mm at their favorite hangout - a bayou near my grandparents' house:
Now here is some random images from my Nikon F4 on Fuji Superia 200, mostly snapshots around my grandparents' house. I was lazy and got them developed locally at a Walgreens - big mistake. They screwed up royally and butchered the film. Terrible, terrible dust and scratches. I am quite mad about it. Anyway, I didn't spot or clean up these scans much so forgive the dust and such:
Sunday, December 30, 2012
Golden Isles 2012 Vacation Part 1
Meagan and I spent 3 days on the "Golden Coast" before heading to Mississippi to spend Christmas with my family. I was able to shoot a lot of film. I've just about finished up my b&w developing, with a several rolls and sheets of color film left to do.
Here's a variety of 4x5 shots first. Here is two views of the lighthouse on St. Simon's Island, both using the Nikkor 120mm f/8 lens:
This is right behind the lighthouse. Taken with the 47mm XL:
Now here is a shot from the Christ Church cemetery, with the 210mm f/5.6 Symmar-S:
The next day we went to Jekyll Island. Here is a shot of the Jekyll Island Club Hotel, and a cottage right down the road from it. Both with the 120mm lens again:
We also did a lot of exploring and I shot several rolls with my Yashicamat. Here's some shots from a variety of places, all either on Pan F+ or T-Max 100:
Finally, these last few are from Driftwood Beach on Jekyll Island. The panorama was made with three different shots:
That's all for now.
Here's a variety of 4x5 shots first. Here is two views of the lighthouse on St. Simon's Island, both using the Nikkor 120mm f/8 lens:
This is right behind the lighthouse. Taken with the 47mm XL:
Now here is a shot from the Christ Church cemetery, with the 210mm f/5.6 Symmar-S:
The next day we went to Jekyll Island. Here is a shot of the Jekyll Island Club Hotel, and a cottage right down the road from it. Both with the 120mm lens again:
We also did a lot of exploring and I shot several rolls with my Yashicamat. Here's some shots from a variety of places, all either on Pan F+ or T-Max 100:
Finally, these last few are from Driftwood Beach on Jekyll Island. The panorama was made with three different shots:
That's all for now.
Subscribe to:
Posts (Atom)